$0+
Pro Tools Custom Track Preset Categories (For Processing Plugins)
Find the perfect plugin faster.
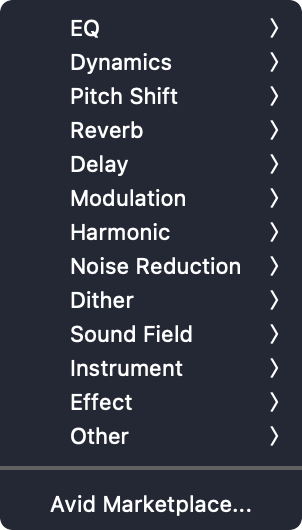
Go from this:
To this:


Ever have trouble using Pro Tools' search feature because a plugin name contains a dash or a space?
Do you have hundreds of plugins that go unused?
Maybe you waste time looking for a plugin in the wrong category.
Or you simply just want to find the perfect plugin faster.
Well now you can work smarter with these custom Track Preset categories!
(See also, categorize your virtual instrument presets or categorize your sample library).
In case you're not familiar with using Track Presets, these are pre-configured track settings that save time by instantly loading specific plugins, presets, routing, and track parameters for quick setup during a session.
Using track presets allows you to customize plugin names, add special characters to bring them up faster, and create your own categories so that you're thinking less about a name and more about the sound you're after.
In the image pictured above (top right), these new plugin categories can house track presets (.ptxp files) containing specific plugin or track states. Some of the categories even contain sub-categories, further narrowing down your choices or for sorting specific plugin presets aside from the plugins themselves. By bypassing Pro Tools' default category list, you can sort your plugins/presets exactly how you want them.
Plugins are loaded similarly to how you would normally load plugins–just choose recall inserts as shown below:

Instructions:
Place the contents of the "Track Presets" folder in "~Documents/Pro Tools/Track Presets" – unless you've specified a custom location.
Saving Track Presets
- In Pro Tools, load a new stereo audio or aux track.
- On the first insert slot, load your desired plugin you wish you save as a track preset. (You can either save its default preset, your own go-to settings, or multiple presets from the same plugin if you wish you categorize them differently).
- To save a track preset, right click on the track you wish to save and choose “Save Track Preset…”
- Choose an existing or new category and name the file.
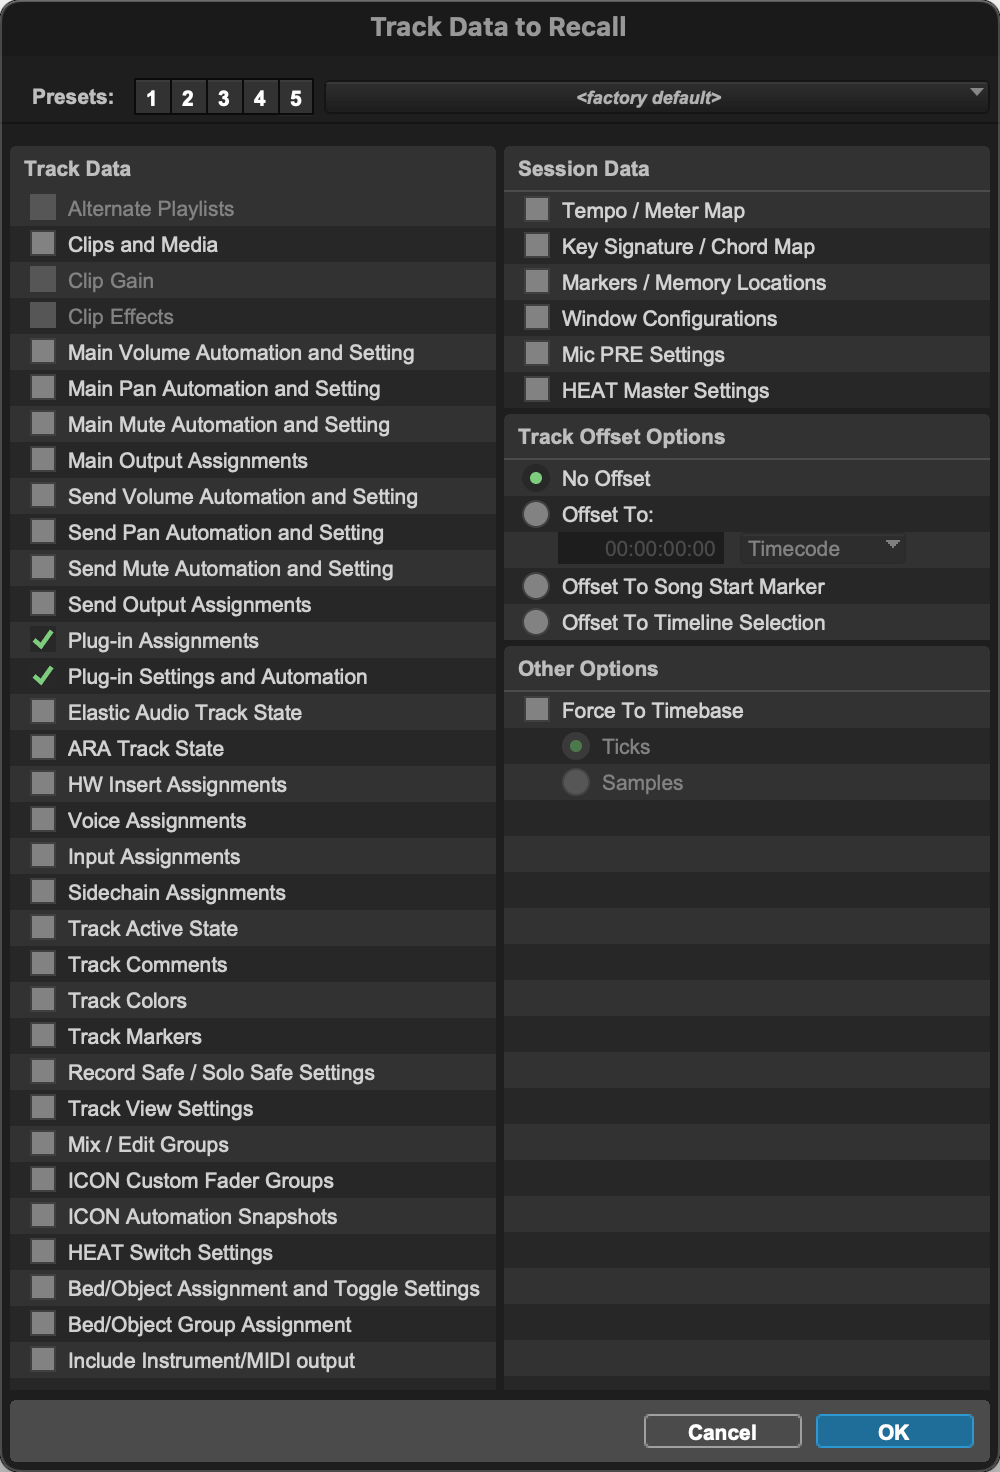
- On the bottom left of the Save Track Preset window, click “Track Data to Recall…” and review all the data you wish to save. I’d recommend de-selecting everything in the Track Data column, and only choose Plug-In Assignments and Plug-in Settings and Automation as shown below. You can then selectively add any additional track states like volume, routing, sends, colors, inputs/outputs, etc. Additionally, you can save a preset of this column’s state by clicking where it says <factory default>. Once done, hit OK/enter twice to complete saving the track preset.

Loading Track Presets
- Simply click on any desired insert slot and choose ‘recall inserts’. This will then reveal the new Track Preset category list.
💡 Tip: To prevent the "Avid" or "Pro Tools | Carbon" folders from showing up, delete both folder's contents but not the folders themselves. Then set both folders to Read Only as well as lock the folders. If you simply delete these folders, they will repopulate every time Pro Tools starts up. Giving them Read Only privileges and locking the folders prevents this from happening.
Done!
You're now on your way to crafting your next hit song even faster.
Let me know if this workflow has helped you or if you have any other Pro Tools workflows you currently use!
If you find this useful, please consider supporting by repurchasing or donating below 🙏🏼 I’d truly appreciate it.
Enjoy!
More products
Questions or want to request a demo ?
Sign up to our newsletter
Join our community and get the latest tips, deals and product updates straight to your inbox. 🔒 We will never send spam or share your information


